Q) Do I have to use the 2-Step Authentication system every time I log in to Gmail?
A) No. Only when you are using a new device that is unknown to Google
QPM Password details are here Full URL: http://qpm.manitoulintransport.com/information_technology/it_40_0_password/
Turn on 2-Step Verification
- Open your Google Account. (https://myaccount.google.com/)
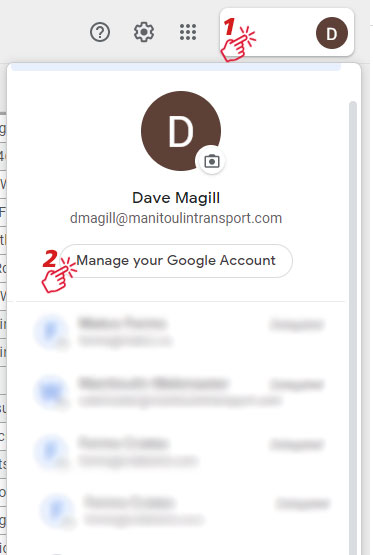
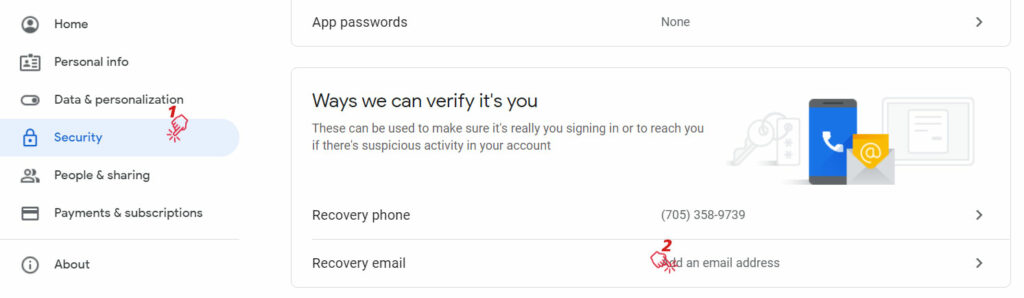
- To the top right of your, Gmail is the Account Manager. Follow Step 1 to expand the display screen, follow Step 2 to open the Account Manager.
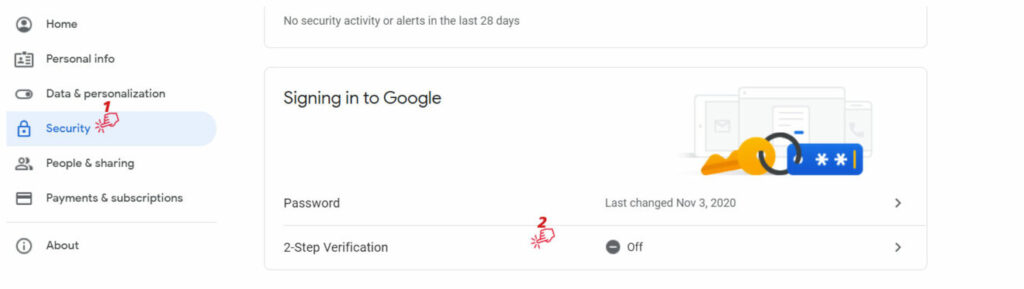
- Select Security (1) in the navigation panel, scroll down to Signing in to Google, and select 2-Step Verification > Get started.
- Once you click 2-Step Verification a new screen will open.
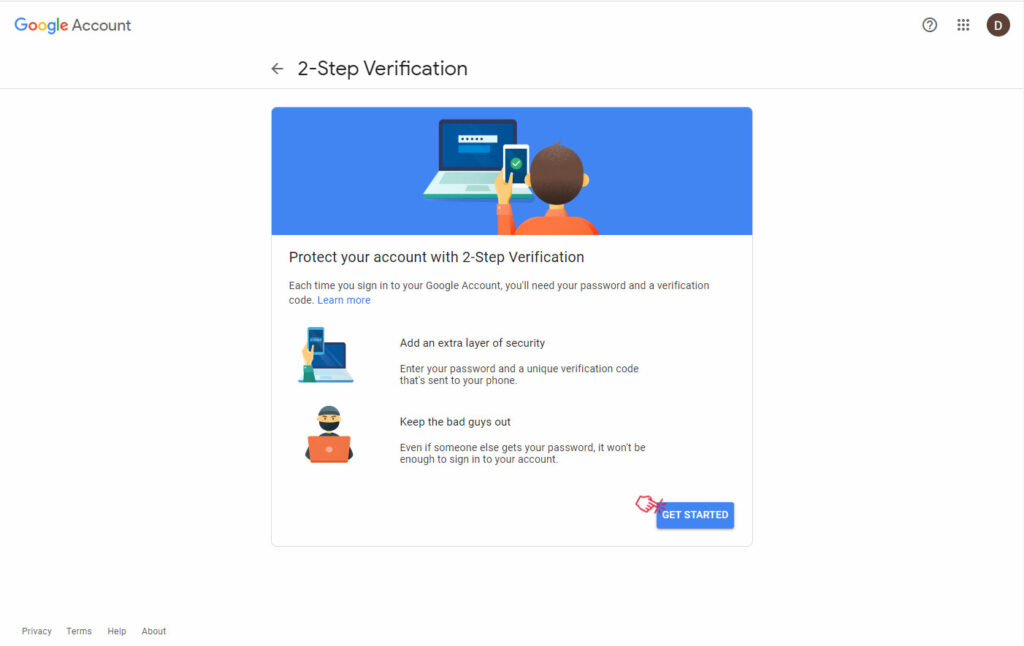
- Clicking Get Started takes you to a screen with more information. You may have to login back in to prove who you are.
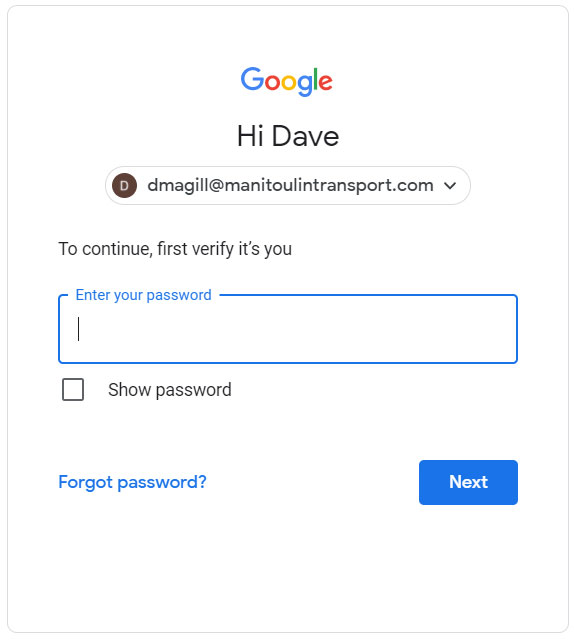
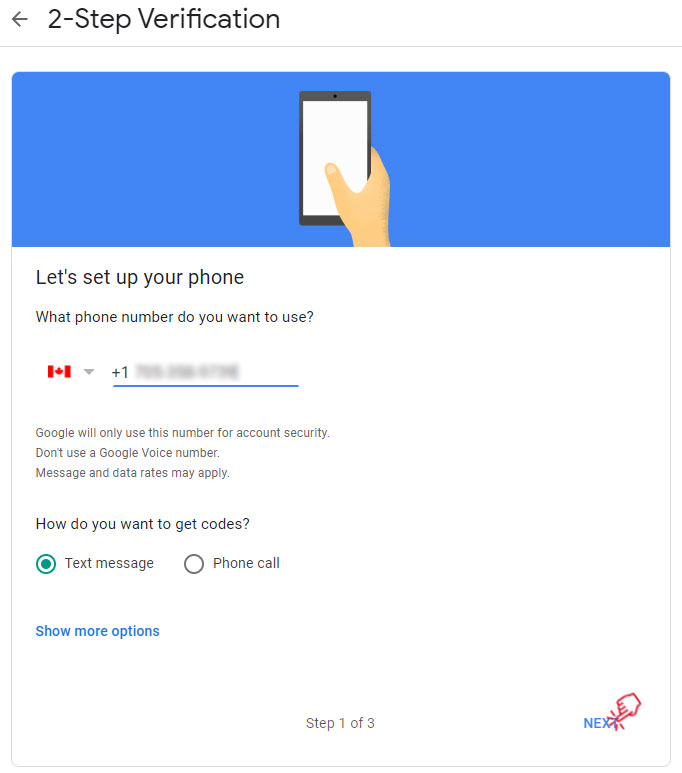
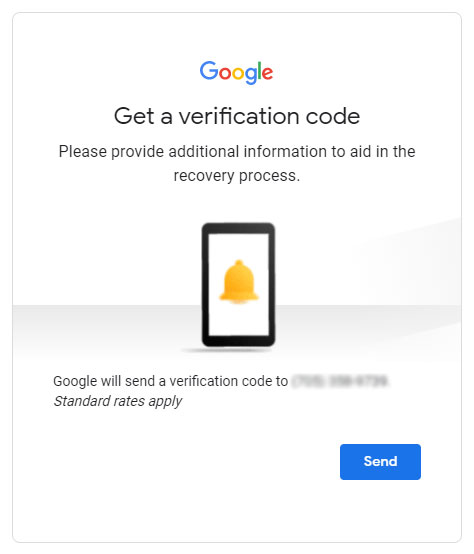
- Once you verify yourself, you are taken to the first of three steps. You will have to provide a Cell number so you can choose to get a text message or a phone call. This will provide you with the verification number required to complete the steps.
Show more options are more complicated and may require more equipment.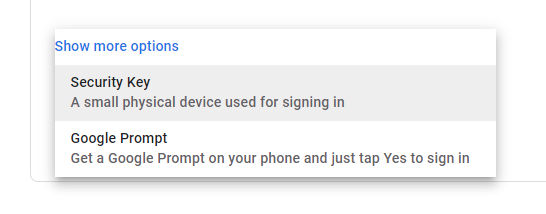
- Security Key: A small Physical device used for signing in.
- This requires a Titan Security key,
- This requires ALL account recovery info to be filled in before this can be done.
- Google Prompt: Get a Google Prompt on your phone and just tap Yes to sign in.
- A cell phone is required. You must set up a backup phone.
- When you attempt to log into your Gmail account, a notification will be sent to your phone, which you can approve.
- Security Key: A small Physical device used for signing in.
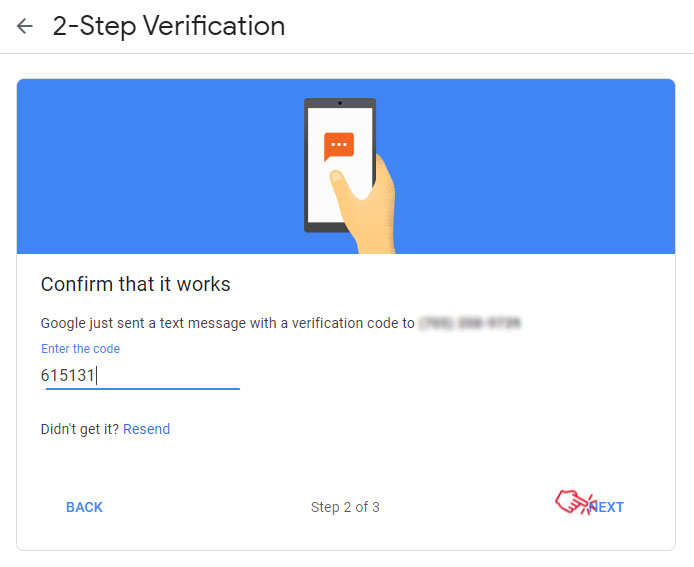
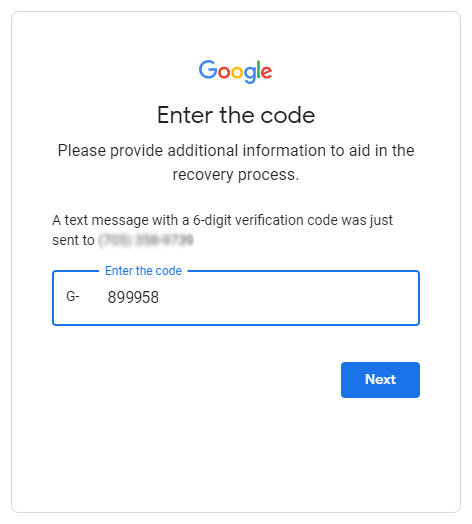
- The previous step will start the verification process, Google will send you a code, similar to the one in the below image. The text you get will have a G-615131. When entering the G-code you do not have to add the “G-“. Simply enter the number: 615131 (as an example). These numbers are one-time use and will only last a few hours at most.
Click the NEXT to proceed to the last step. - This is the final stage and will tell you if there are further errors or issues.
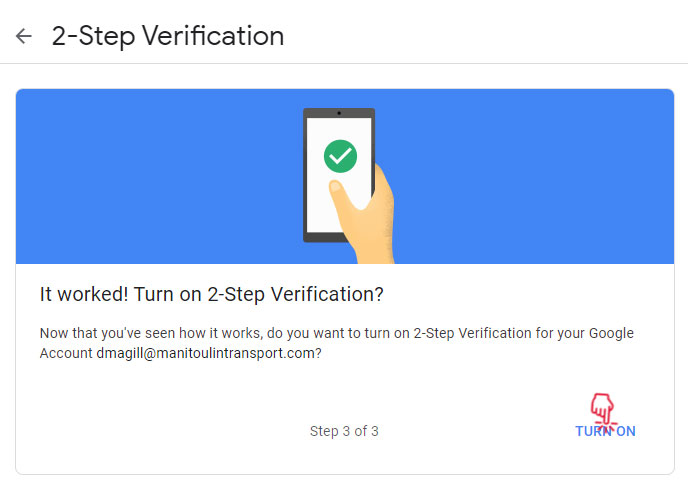
- With that final step, you will be taken to a confirmation screen. You are done, there are no further steps to take.
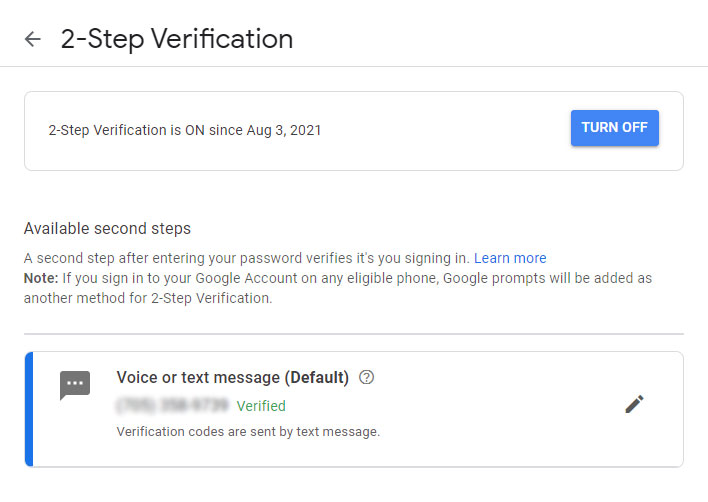
- As long as the 2-Step Verification is ON since xxx x, xxx, you can close this window. Congratulations!
Your account, [email protected] is associated with your work. If you can’t set up 2-Step Verification, contact your IT Department.
- To the top right of your, Gmail is the Account Manager. Follow Step 1 to expand the display screen, follow Step 2 to open the Account Manager.
- At the top, tap Security. Under “Ways we can verify it’s you,” tap Recovery phone. You might need to sign in.

- From here, you can:
- Add a recovery phone.
- Change your recovery phone: Next to your number, select
 .
. 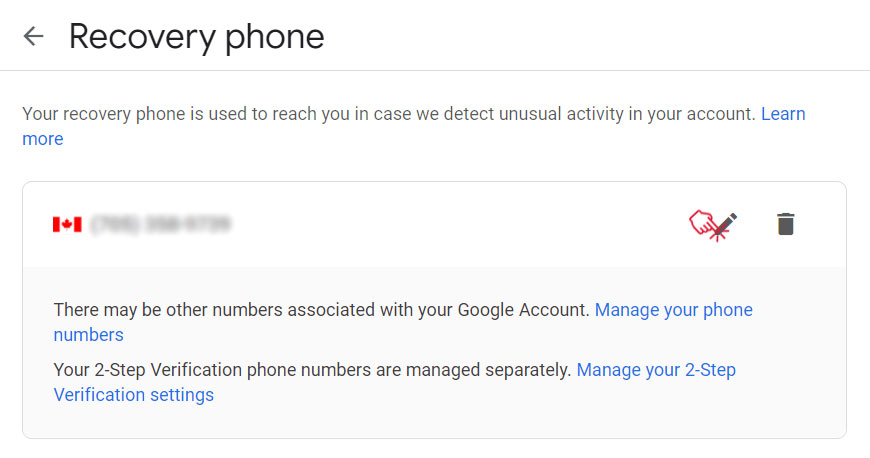
- Delete your recovery phone: Next to your number, select . The follow up step will ask you to confirm your deletion and you are done.
- When you click the small a popup screen will appear asking you to update your number.
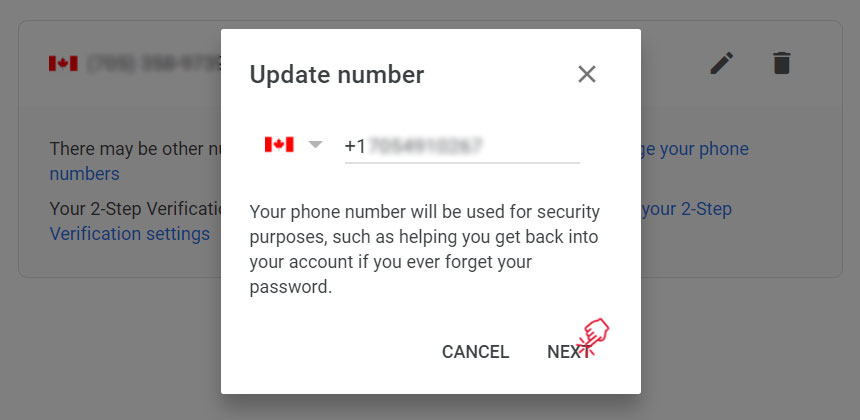
- Once you click the next, you will be taken to a validation screen.
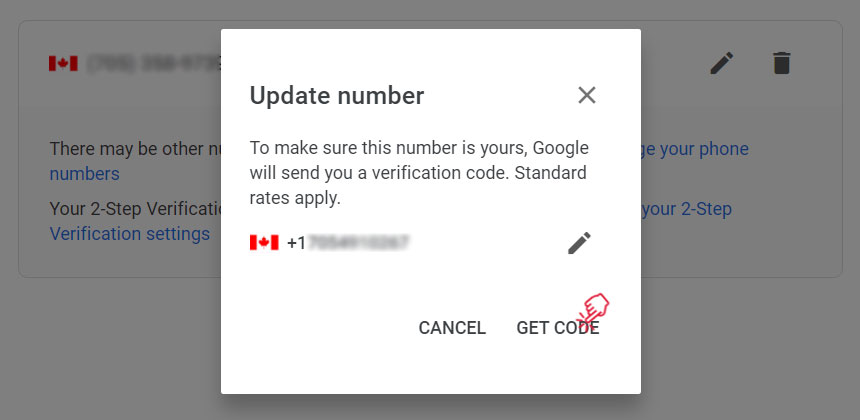
- The above process will send a new Google Code (G-Code#) to the updated Cell number.
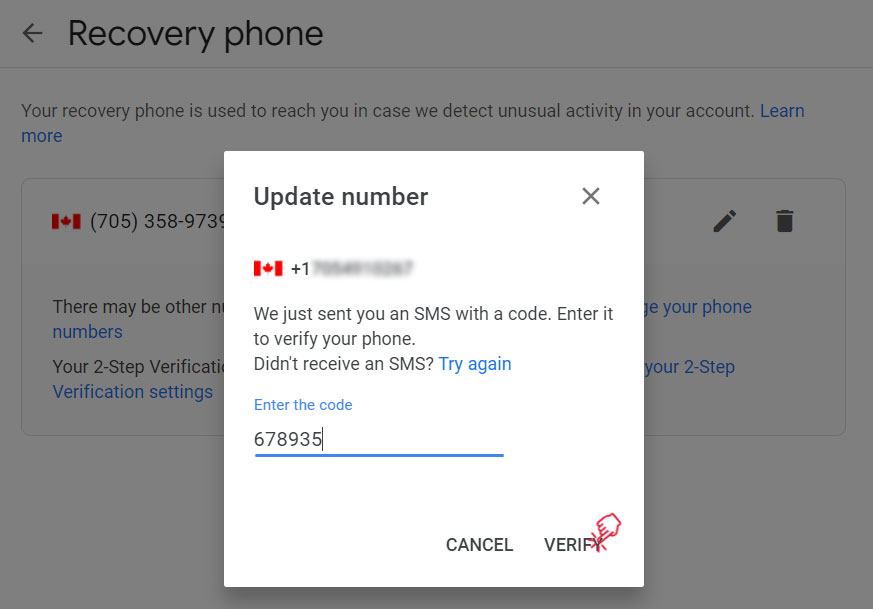
- Once you click the VERIFY you are returned to the Recovery phone page, with the updated Cell number. You are done, so feel free to close this tab.
Note: Deleting your recovery phone number doesn’t delete it from being used for other Google services. Go to your account to manage your phone numbers.
-
- To the top right of your, Gmail is the Account Manager. Follow Step 1 to expand the display screen, follow Step 2 to open the Account Manager.
- At the top, tap Security. Under “Ways we can verify it’s you,” tap Recovery email. You might need to sign in.
- From here, you can:
- Add a recovery email.
- Change your recovery email type in the email you wish to use.

- Once you click the Verify button, 2 things happen:
- that new email account will receive a Google Code (G-Code#), similar to the below image. This G-Code # expires in 30 minutes.
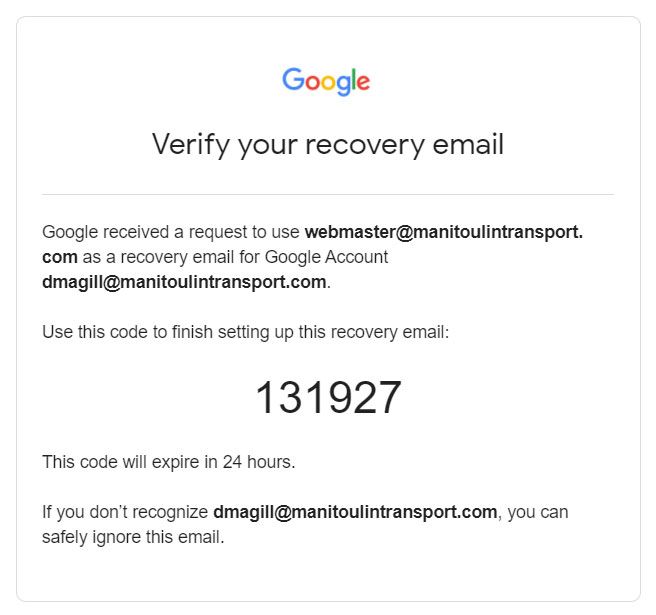
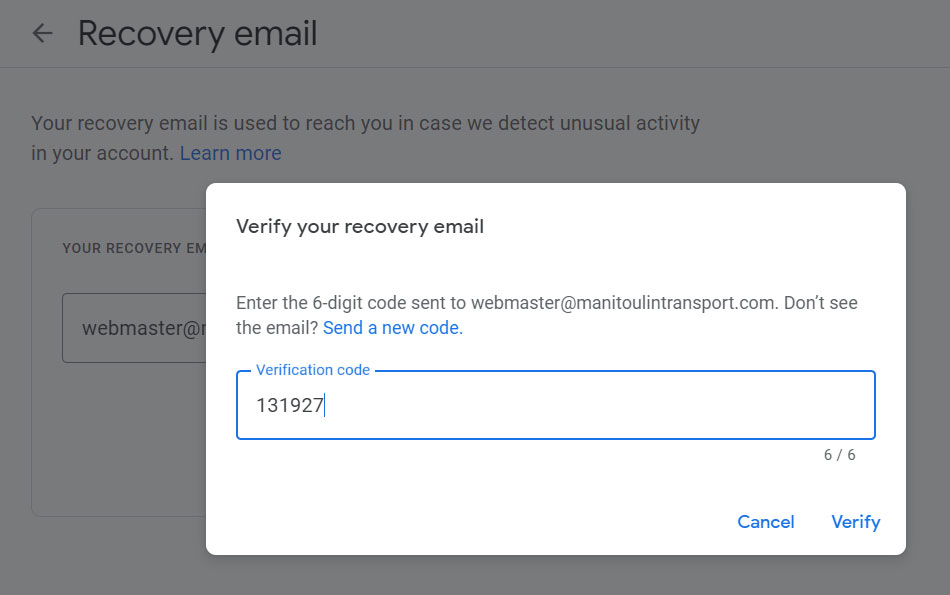
- The second step is to collect the G-Code from your email address and place it in the Verification code box. Click Verify.
- that new email account will receive a Google Code (G-Code#), similar to the below image. This G-Code # expires in 30 minutes.
- With the Verification code processed, you will be taken back to the Recover email page. The Verify option is greyed out.

- Success! You can close this window.
- To the top right of your, Gmail is the Account Manager. Follow Step 1 to expand the display screen, follow Step 2 to open the Account Manager.
- Follow the steps to recover your Google Account or Gmail (https://accounts.google.com/signin/recovery ).
- Normally Google will request you to give your email address,
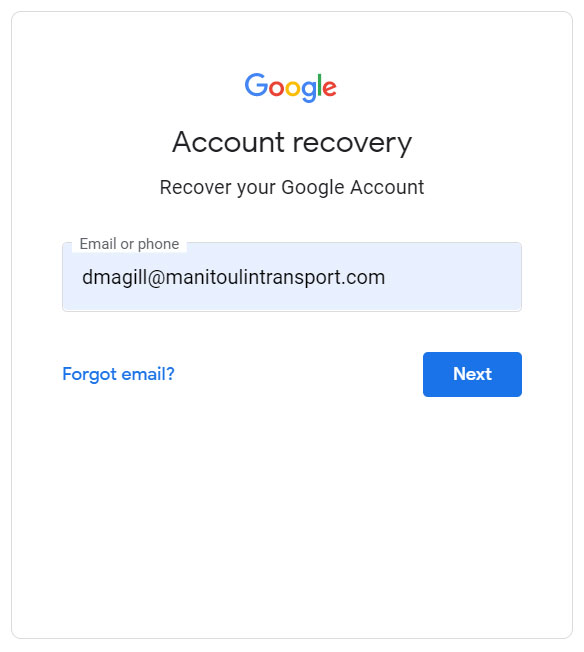
- After you click the next button if you may see the below image:
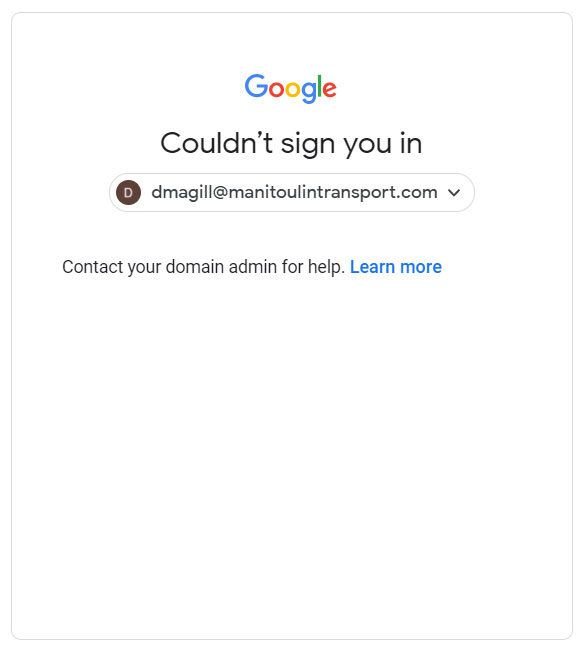
- This means you must use the MTDirect Password Recovery Tool. https://mtd2.mtdirect.ca/#/reset-password/
- IF you don’t see the above, carry on to the next section just below.
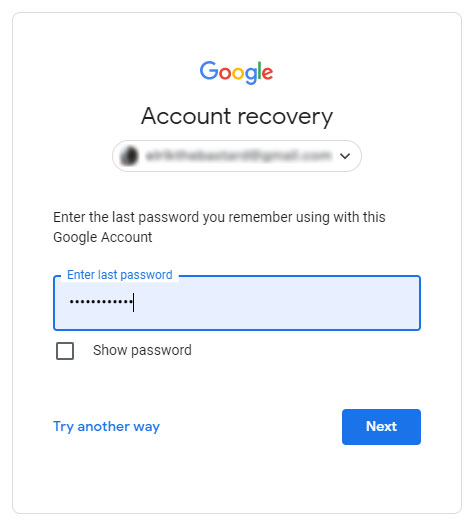
- Normally Google will request you to give your email address,
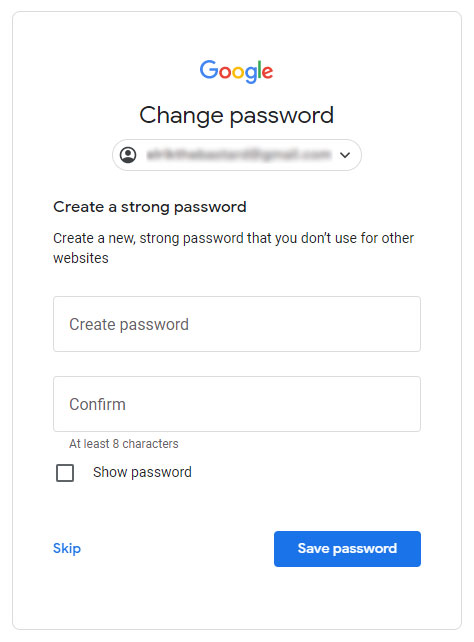
- If you see the below image you manage your own account. You need to enter your last password and click the Next button.
- In this example, I am using the phone option to reset my password, you may receive an image like below:
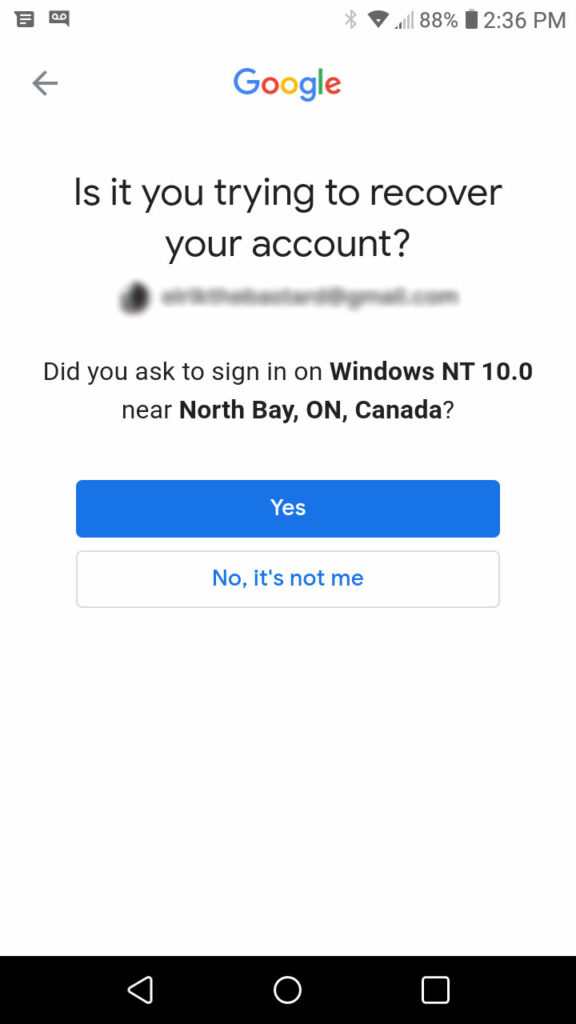
- Once you approve the above your browser will change to the below. Pick a strong password, one that will not be easily discovered or guessed.
- Once you change your password, you will receive several notifications on your Android system and your Gmail. You are done.
- If you have no issues or Google does not tell you of any issues, you are done.
- If you have trouble, try the tips to complete account recovery steps (https://support.google.com/accounts/answer/7299973 ).
- Follow the steps to find your username. You’ll need to know:
- A phone number or the recovery email address for the account
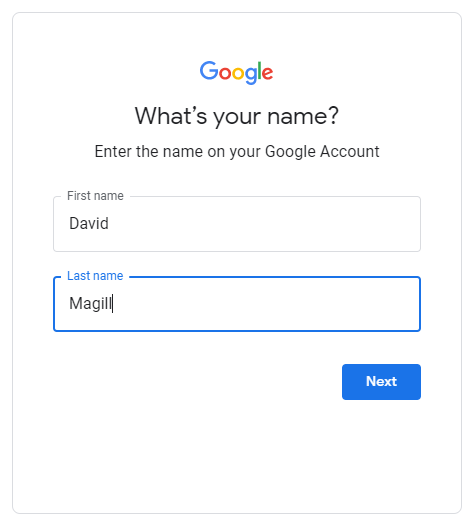
- The full name on your account
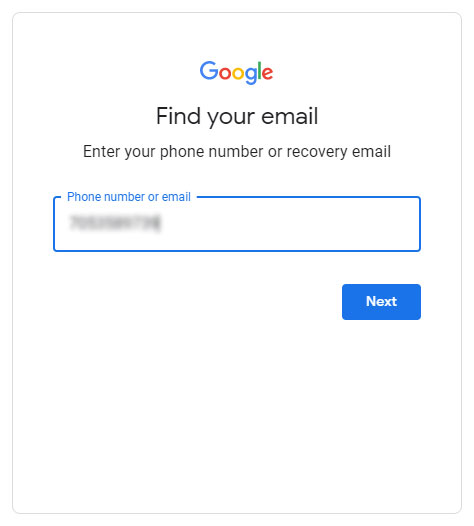
In this example, we are using a cell number. - Follow the instructions to confirm it’s your account.
- You’ll see a list of usernames that match your account.

Contact support immediately > IT Support (https://itportal.io/servicedesk).
If you have tried everything listed, contact IT Support (https://itportal.io/servicedesk).
Review devices where you’re signed in
- Go to your Google Account (https://myaccount.google.com/).
- On the left navigation panel, select Security. On the Your devices panel, select Manage devices.
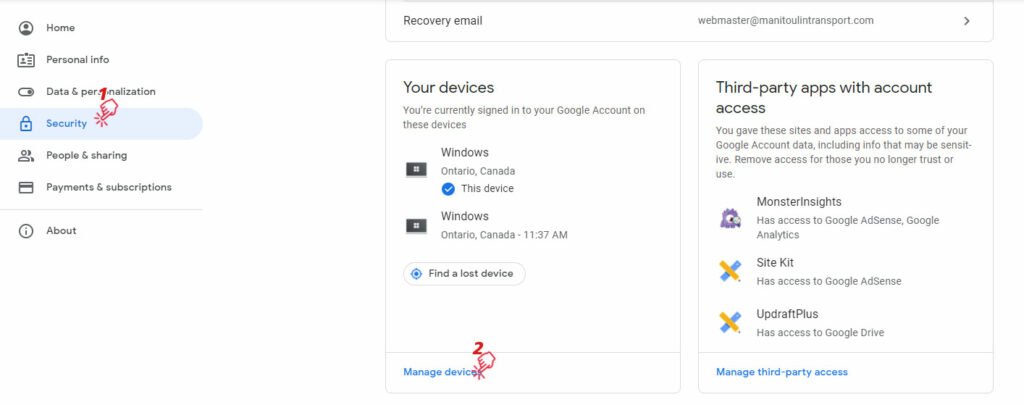
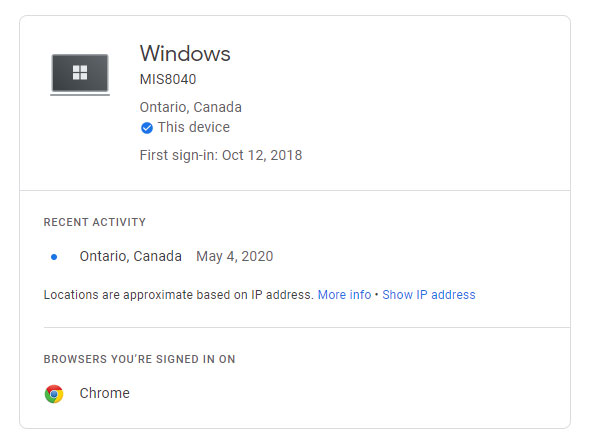
- You’ll see devices where you’re currently signed in to your Google Account. For more details, select a device.

- If you click More details you will get the below image (as you can see this would show you the current device you are on.)
- The more devices the more will be displayed.